|
It's the one thing we try to avoid almost always. Because, let's be honest, it just looks terribe most of the times (except maybe during sunrise and sunset). And yet there are situations where you simply have no other choice than facing the sun. That's why I decided to show you what I do in case I have to deal with backlight. Doesn't mean however that every backlight photo I edit ends up being some kind of artistic masterpiece - quite the contrary actually. So, don't expect too much. Maybe you'll be able to "save" a backlit photo, maybe not. Nevertheless, it's always worth a try. 1. Remove the colors A simple but very effective way of making backlight shots look less "accidental" and more artistic. Usually the colors in a backlight photo look unnatural and everything that should be white is blue. That's why removing all colors is often the better solution than messing around with them for hours. But, since there isn't any color contrast left now, the photo needs more tonal contrast. Now that you can't work with the colors, you'll need other ways to "spice up" your photo, like graduated filters, clarity, etc. I also like to apply a vignette effect on my B/W photos. 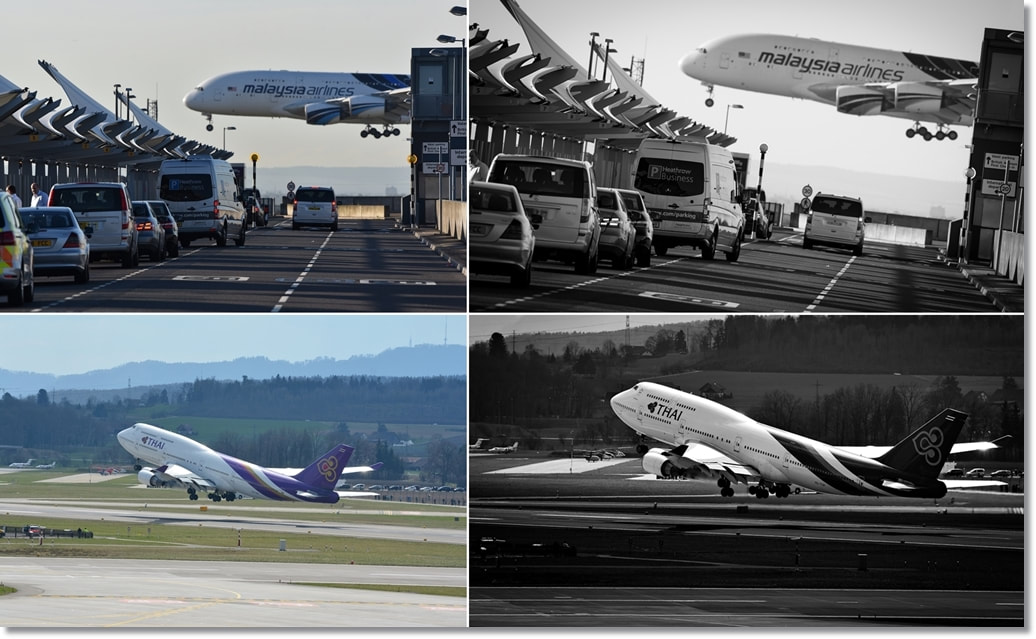 2. Cover the sun One of my favourites. For this however you'll need an aircraft that's not (or just slowly) moving. Also, you should have the possibility to get close to the aircraft. 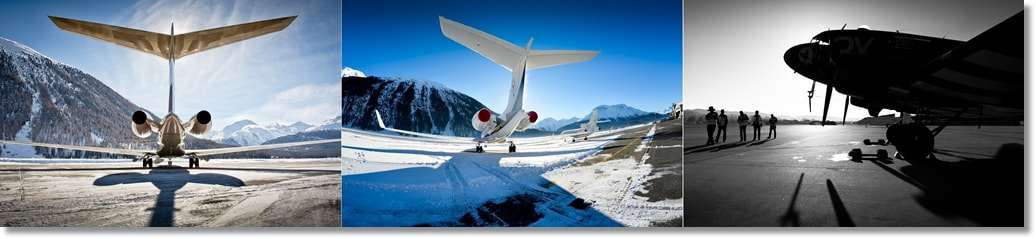 3. Work with the shadows The best side-effect of backlight are shadows. They can add a nice touch to your photo if you use them right. There's no simple rule for that, just experiment until you think it looks good. 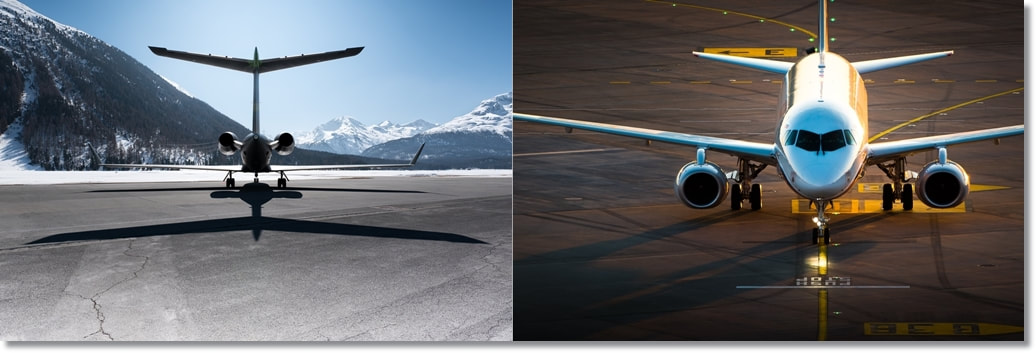 4. Background = White Backlit usually means that the background is brighter than the aircraft (at least the sky). So, instead of brightening up just the aircraft, why not make the whole image brighter? If I use this technique, I make sure that the sky is completely white. It just looks cleaner. Of course the image is everexposed now but as long as you don't try to upload it to airliners or jetphotos this won't be a problem.  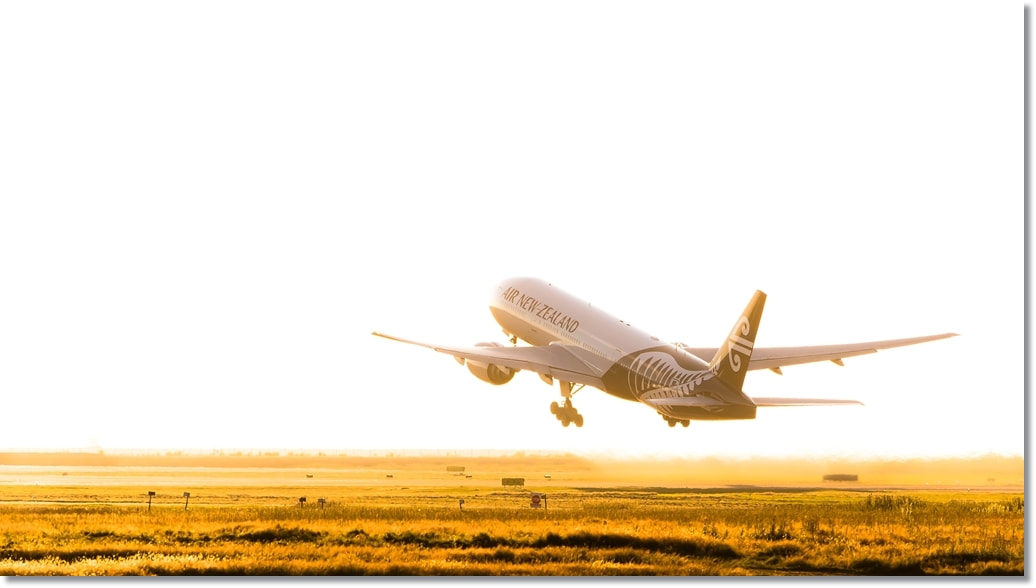 5. Background = Black Same idea, but instead of brightening up the whole image, you reduce the overall brightness. This also works with properly lit photos, just make sure that the aircraft in the photo is brighter than the background. For this, it'll be better if you work with the tones rather than just using the brightess/exposure lever.  These are just a few examples. But it should give you an idea on how you could edit backlit photos. So, instead of immediately deleting these shots: be creative. Sometimes the result can be quite nice.
6 Comments
|
My photos... but with words. Here you'll find trip reports, tips and tricks for editing or just random stuff.
Categories
All
Archives
March 2018
|
 RSS Feed