|
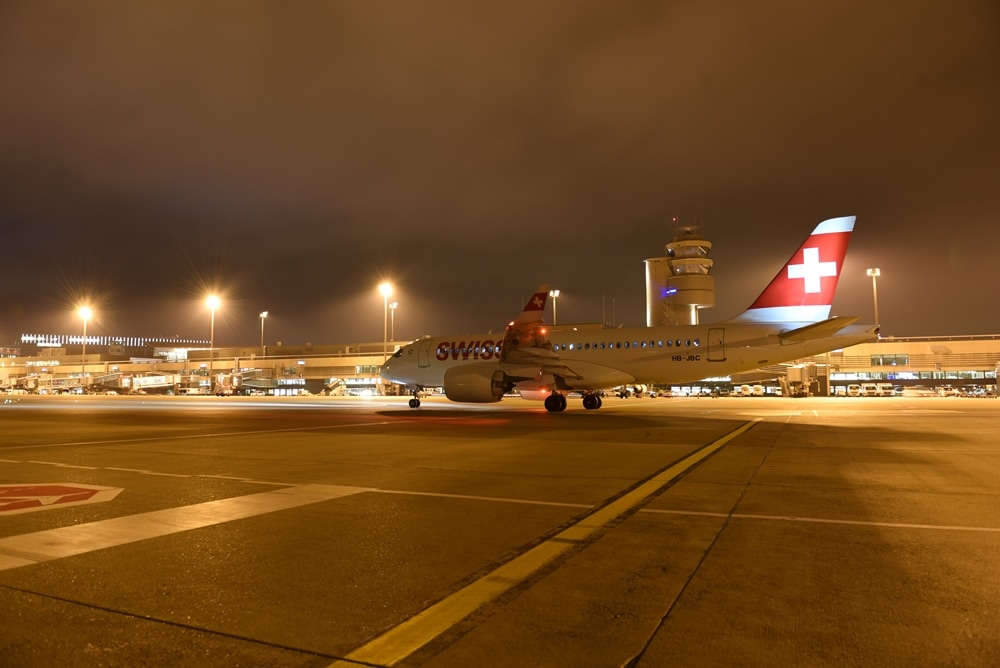
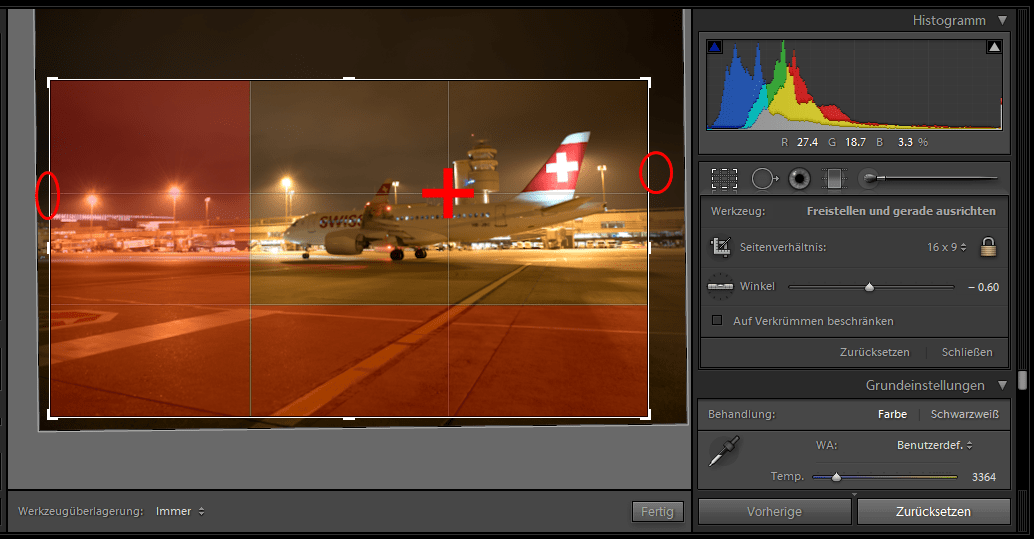
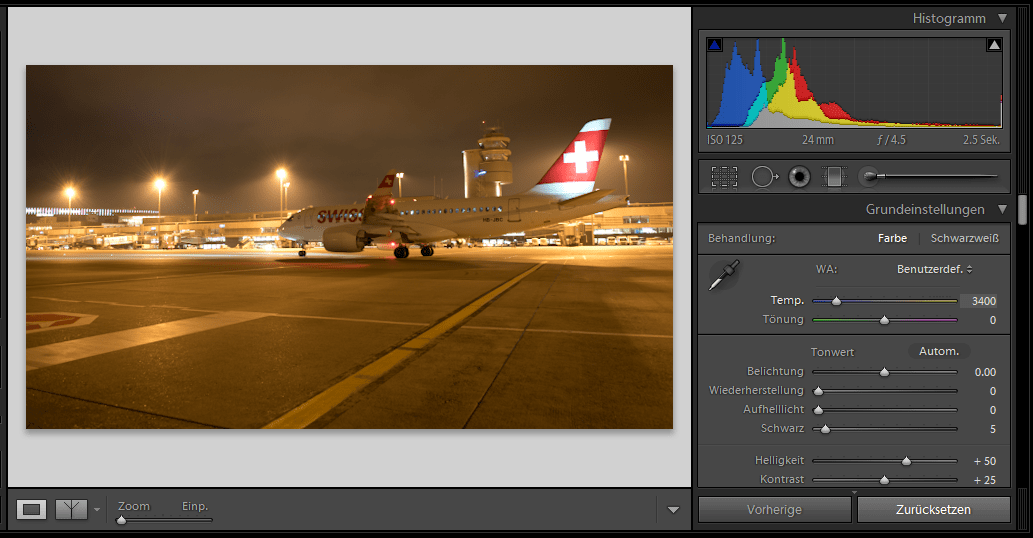
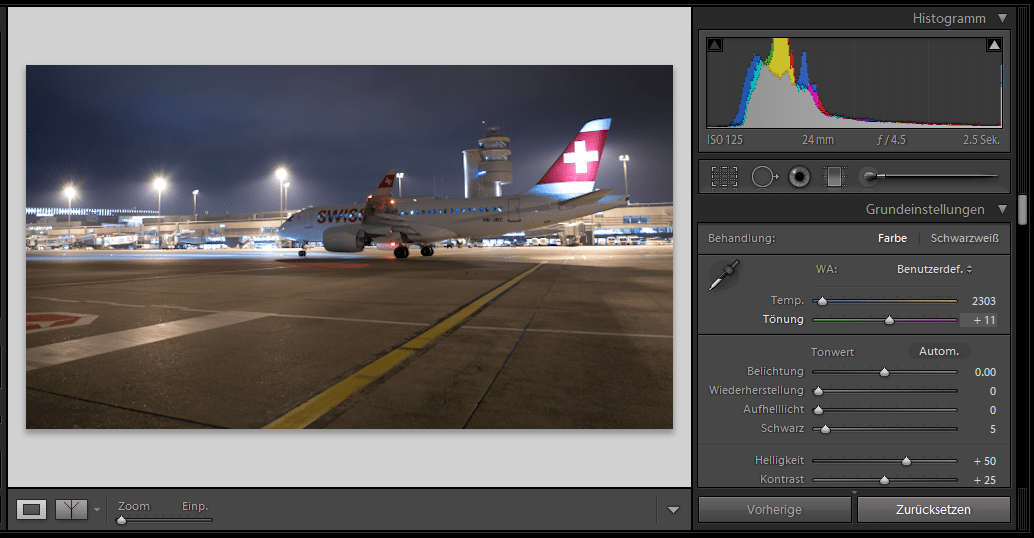
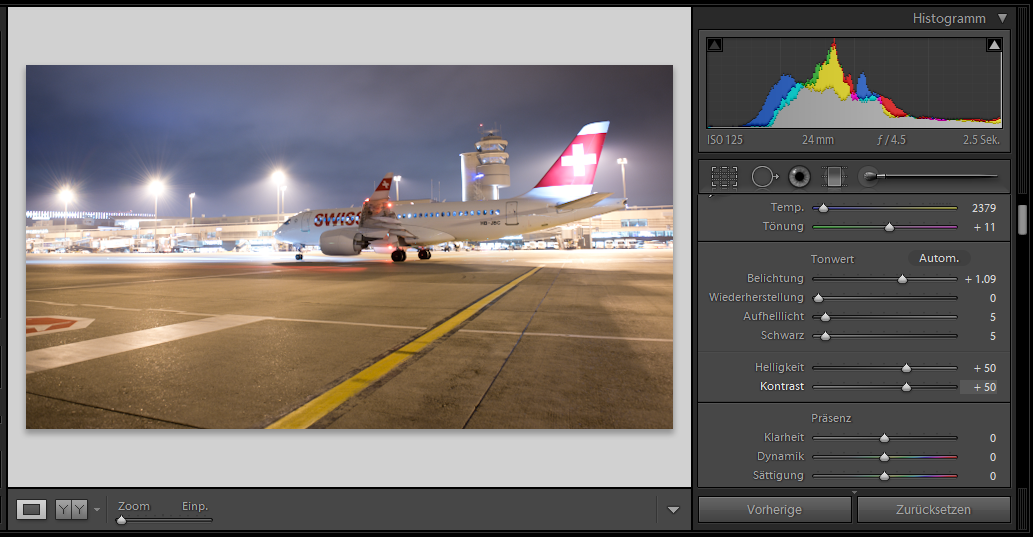
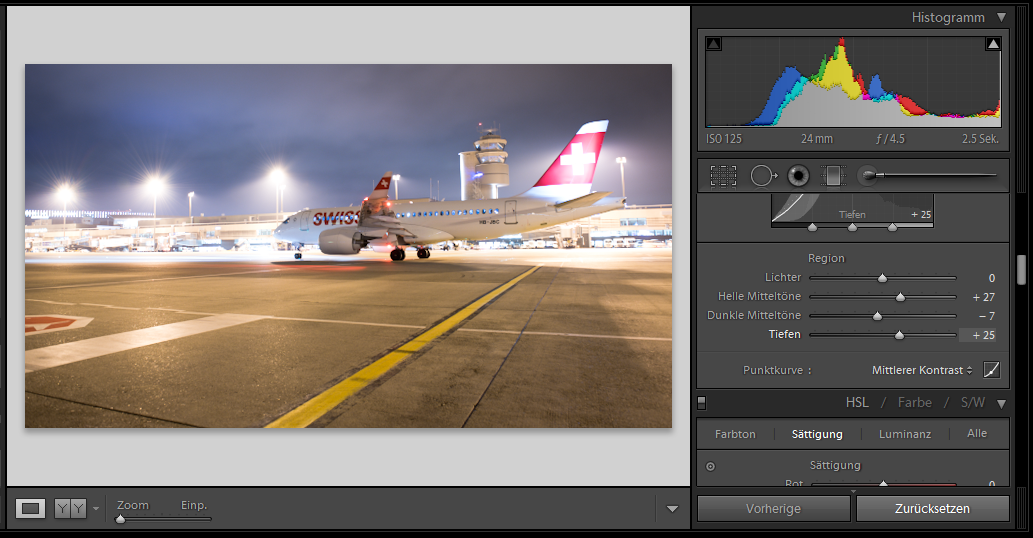
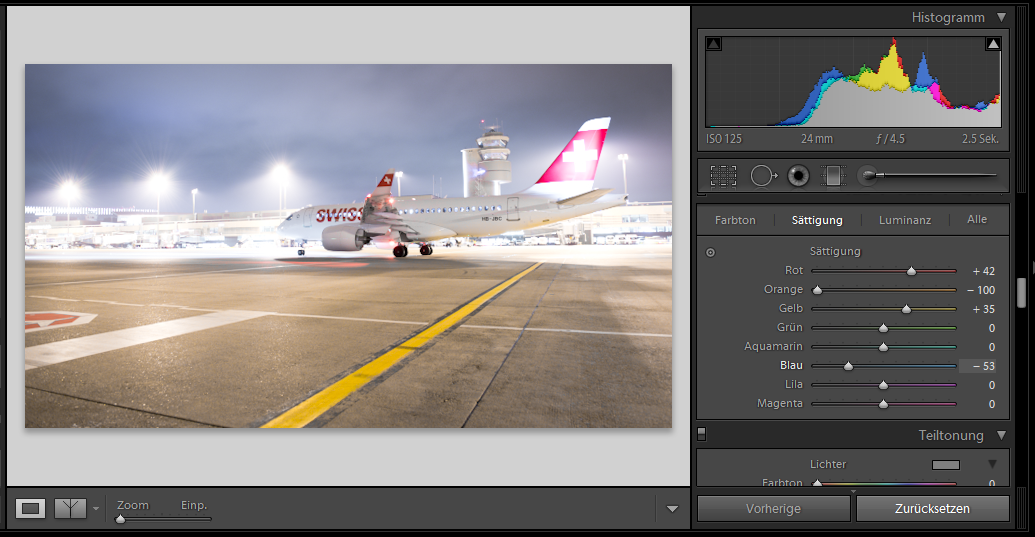
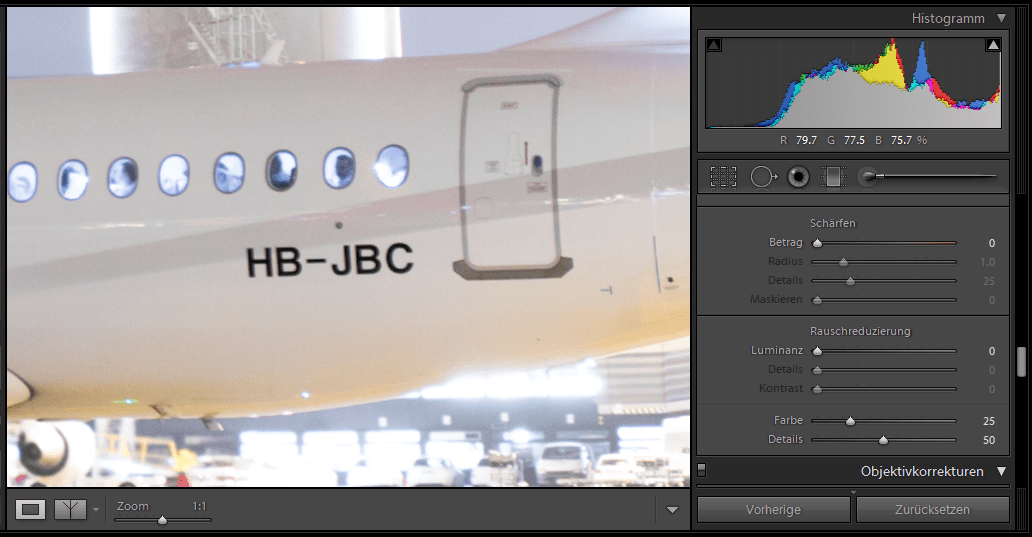
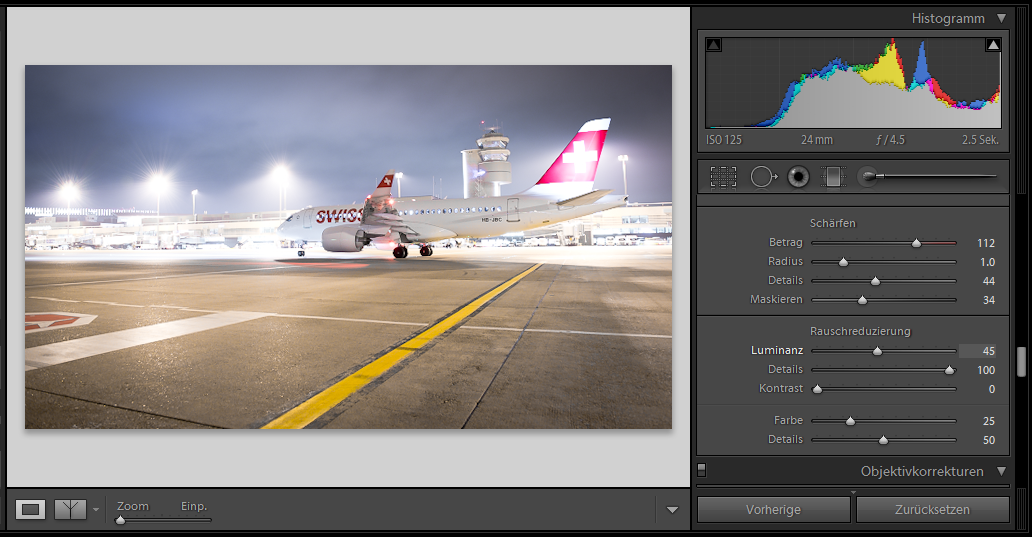
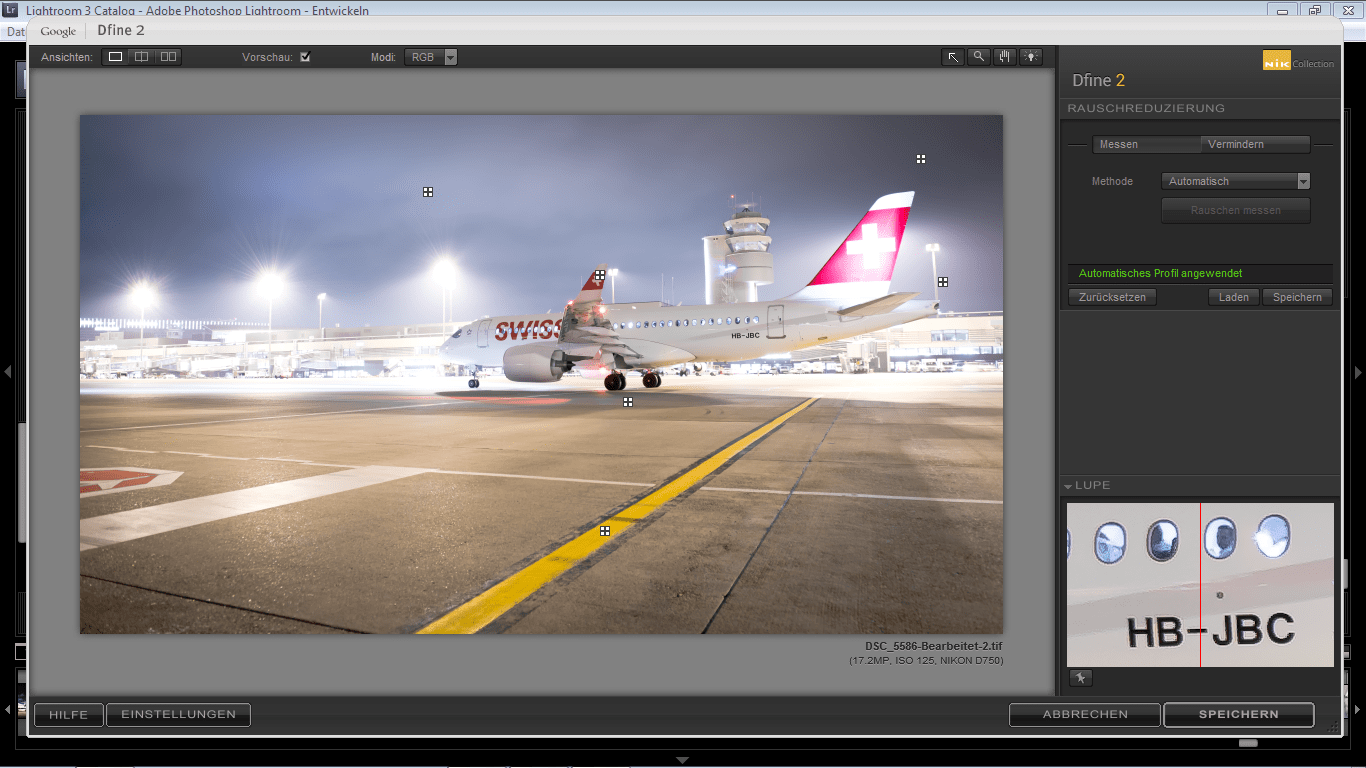
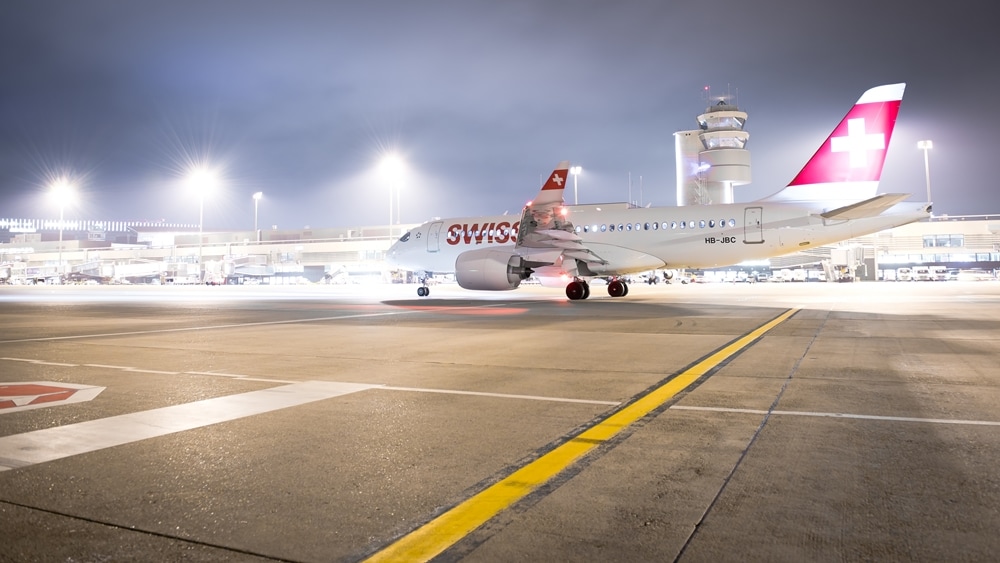
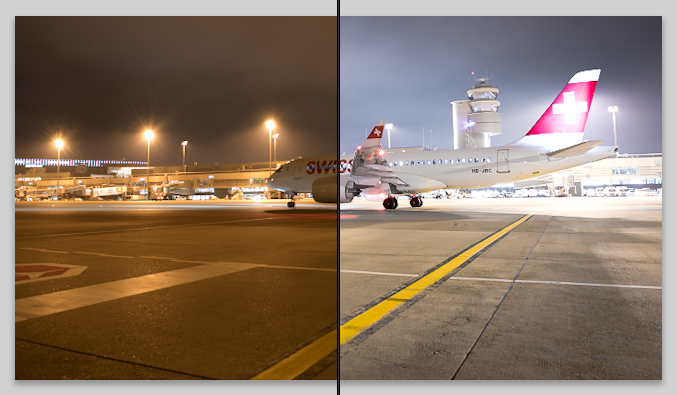
As if there weren't enough blogs already I've now started one as well. The main reason is to show you a bit of what's going on behind the camera, for example editing, and hopefully there will be some trip reports as well this year. As English isn't my first language there will be some grammatical mistakes and syntax errors but I'll try to keep them as few as possible. Thanks for your understanding and I hope you enjoy reading my small contribution to the blog universe! I'll start right away with a short post about my typical editing workflow in Lightroom. This isn't actually a tutorial, just the way I edit my photos. Of course there will be tutorials in the future; perhaps even on Youtube (videos are not really my thing yet). But anyway... let's begin now. I chose this photo of a Bombardier CS100 taken at night: First things first: For the best possible result you should always shoot in RAW (especially at night) as there's just so much more information in a RAW file. Trust me, you'll notice a big difference. We'll start the edit with cropping the photo. The most common ratio is 3:2 but you see more and more aviation photos with a 16:9 crop (now also accepted on airliners.net and jetphotos.net). I often use the 16:9 crop, mainly for photos of planes taken from the side. Looks just much better when there's not endless sky or ground above/below. In the screenshot above I tried to show you how I decided to crop the photo. Firstly, there's some lens flare (red circles) and I didn't want these in my photo. Another important point is the Golden Ratio (red plus). It'd look terrible if the aircraft was in the center of the frame, especially if there's so much space around it. And as the sky is quite boring I decided to show a bit more of the ground. The yellow line fits perfectly as you'll see at the end. So then it should look something like this: (Of course you can always change the crop later) The first thing I usually do after cropping is adjusting the temperature and the tint. Zurich Airport has some very warm floodlights and I don't really like it when my photos are bright orange so I lowered the color temperature to around 2300k. To fix the slight green cast I set the tint lever to 11. So now that we have the right white balance (at least for the moment) it's time to add some brightness and contrast. I always start with the overall brightness of the photo (exposure or brightness) and in a second step I adjust the tones. The ones who know my photos know that I love contrast (sometimes a bit too much) so it's not unusual for me to put the contrast slider to 100. In this case 50 was just right. Next step, as mentioned before, is to adjust the tones. I don't have any preferred settings so I'd just play around with the silders till I like it. Now I've come to the point where I change/remove some colors. There's still too much orange so I completely removed these tones. I also reduced the blue tones of the sky (don't know why, was just a bit too blue IMO). On the other hand, I added some saturation to the red and yellow tones in order to highlight the SWISS livery and the line on the ground. Oh and you might have noticed that I added some more brightness. It's clearly overexposed now but since I don't want to upload it to a.net or jetphotos I don't really care... The next and final step is sharpening and noise reduction. As you can see in the picture below the photo is not 100% sharp but thanks to the distance of the aircraft in the frame it's not further tragic. I hate it when there's noise and grain in my photos but if you use too much noise reduction you'll lose the details so you have to find the right balance. As the photo was taken at night it's quite grainy and through the additional sharpening it's become really bad. I have two ways to get rid of it (or at least partially): One of which is the noise reduction tool in Lightroom and the other one is Google Nik Dfine (free for download since last year). I always use both because as you know... I hate noise. Firstly in Lightroom... ...and then in Dfine. That's it. And here's the result: Hope I could give you a small glimpse into my LR workflow. There are of course many tools I didn't use in this edit like clarity, local adjustment, graduated filter,... but I hope to show you these later.
Keep in mind that every photographer has his own way of editing so there's no right or wrong. Over the time you'll get more experienced and find your personal style. Don't watch too many tutorial at the beginning, just play around with Lightroom and get to know the many cool tools!
5 Comments
Simon
1/13/2017 07:29:42 pm
Thanks, nice tips. I love contrast too!
Reply
deep
6/22/2019 05:52:00 pm
can you help me too post on jet photos
Reply
Matthias
6/25/2019 09:10:54 am
Yes sure!
Reply
Leave a Reply. |
My photos... but with words. Here you'll find trip reports, tips and tricks for editing or just random stuff.
Categories
All
Archives
March 2018
|
 RSS Feed